


Photo by Rohit D'Silva on Unsplash
Testing a React Application Creating a Cypress Test
Last time we finished setting up Cypress in our test environment. Now we'll finally use it and create our first Cypress test.


Introduction
The seventh part of my ongoing series is on how to test a modern React application. This time I'll go over how to create our first Cypress test.
Cypress is a robust end-to-end testing framework.
In the previous parts of this series, I went over how to set up our unit-testing framework with Vitest. Unit tests will cover more isolated and individual pieces like our functions or component-only tests if necessary.
We also went over how to initially set up Cypress and its dependencies. Cypress will be handling a big chunk of our tests and give us the most confidence in our tests.
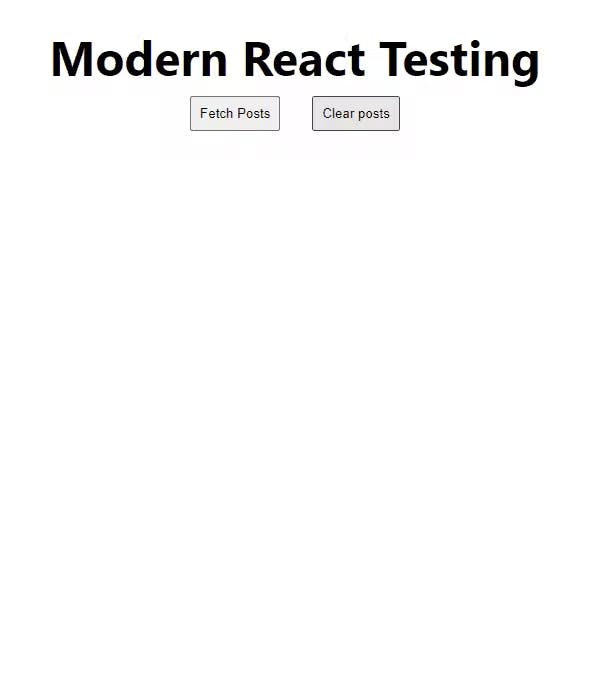
Let's briefly go over the small barebones application we've made up to this point.
When clicking on a button it fetches posts from a service and displays them on the page:
For reference, you can find the repository here.
Cypress examples
Let's go ahead and run the commands needed to get Cypress up and running:
npm run dev

npm run test-e2e
When first launching the application you'll see when it completes through the terminal:

A window will be opened with some tests that we can review with a breadth of examples.
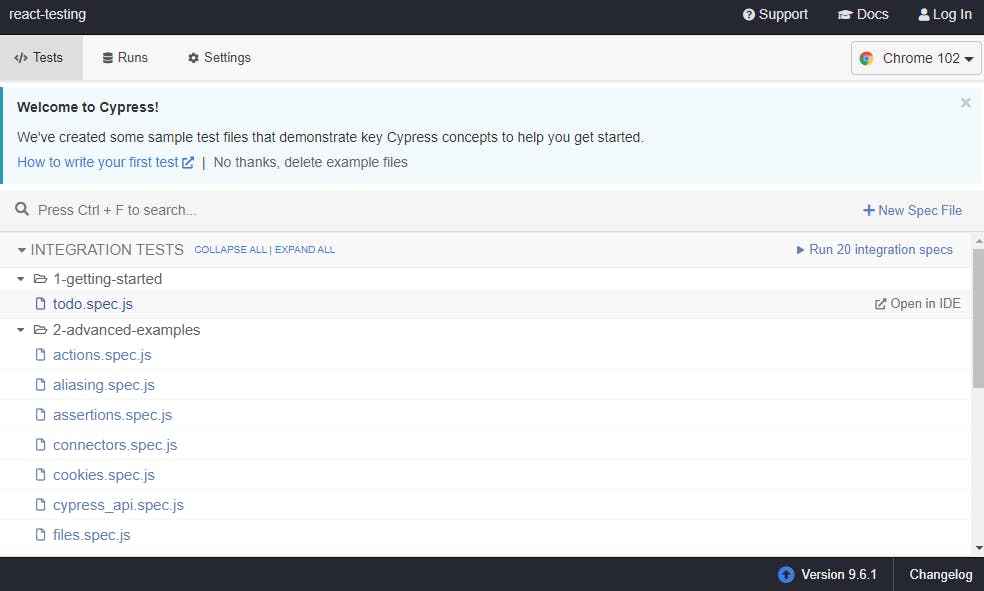
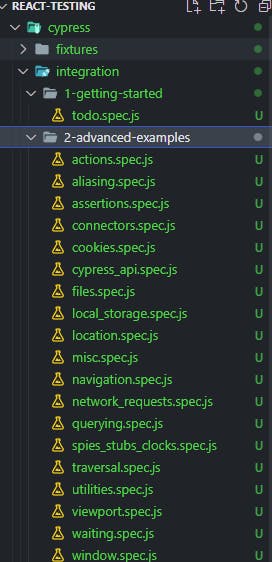
I highly recommend checking out these tests to get a real example of how to use a lot of the syntax with Cypress. They cover quite a bit of use cases. These tests can be found in the following location in our folder structure:
Creating our first test
Let's go ahead and start creating our first test. In the integrations folder let's create a file 'first-test.spec.js`.
The Cypress syntax is very similar to our vitest syntax. We'll start off by adding an encapsulating describe function.
describe('First Test', () => {});
Inside the second parameter of the function, we'll add our individual test. Again, similar to vitest we'll add an it function with our first test logic.
describe('First Test', () => {
     it('Fetch posts', () => {});
});
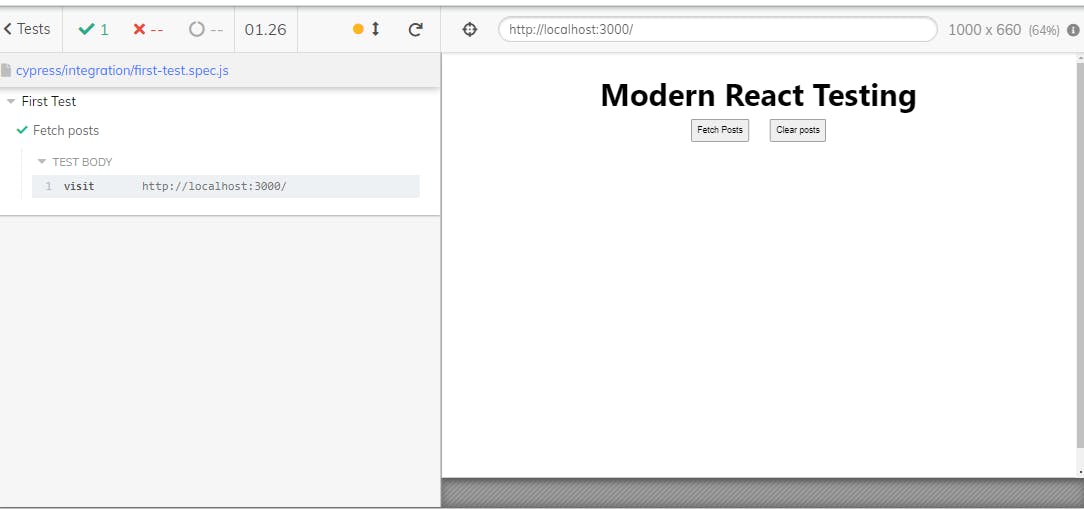
Let's pause and take a look again at the Cypress window. At the bottom of the list, we'll find the newly added test.

If we click on the test we'll get a message that no tests are found. Let's go ahead and start using the Cypress syntax to navigate to the page.
describe('First Test', () => {
  it('Fetch posts', () => {
    cy.visit('http://localhost:3000/')
  });
});
Just to break down what's going on, cy is a globally available object with a bunch of our Cypress syntax. cy.visit() allows us to visit the specified URL. In the Cypress window, we'll get our page that is up from our dev environment.
In the center right next to the URL we'll see a cross-hair icon. If you click on this icon you'll be able to select other elements on the page. What is this for?
You can select elements to query for in our Cypress tests. Awesome 😎. This is one of the reasons Cypress is so fun to use. It really makes creating tests a breeze. We could just use the existing selector for the fetch button but let's add a different one to our JSX.
<button data-testid="fetch-posts" onClick={fetchPosts} type="button">
    Fetch Posts
</button>
The attribute data-testid will allow us to query for the button with higher specificity. If we go ahead and use the crosshair icon in our Cypress window we can see the new selector.
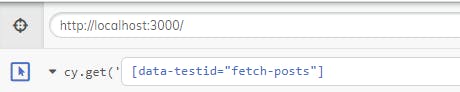
Clicking the copy button on the right we can grab the selector and use it in our test.
describe('First Test', () => {
    it('Fetch posts', () => {
        cy.visit('http://localhost:3000/');
        cy.get('[data-testid="fetch-posts"]').click();
    });
});
In our testing window, we'll see the posts correctly fetched. As the final part of our first test let's go ahead and assert that the posts were fetched correctly. But our fetch of the posts is asynchronous. No worries here as Cypress has us covered.
describe('First Test', () => {
    it('Fetch posts', () => {
        cy.visit('http://localhost:3000/');
        cy.get('[data-testid="fetch-posts"]').click();
        cy.intercept('https://jsonplaceholder.typicode.com/posts').as(
            'getPosts'
        );
        cy.wait('@getPosts');
    });
});
Our cy object has an intercept property that allows us to check network requests for a specific endpoint. We alias this request by chaining an as function with the name of the alias. At the very end, we'll wait for the request with the cy.wait('@getPosts') command.
The only thing left to do is check that the posts are correctly loaded. Let's add another data-testid to the list of our posts.
<section data-testid="posts">
    {posts.map((post) => (
        <article key={post.id}>
            <h3>{post.title}</h3>
            <p>{post.body}</p>
        </article>
    ))}
</section>
With that out of the way, we can query for the number of posts.
describe('First Test', () => {
    it('Fetch posts', () => {
        cy.visit('http://localhost:3000/');
        cy.intercept('https://jsonplaceholder.typicode.com/posts').as(
            'getPosts'
        );
        cy.get('[data-testid="fetch-posts"]').click();
        cy.wait('@getPosts');
        cy.get('[data-testid="posts"]')
            .children()
            .should('have.length.greaterThan', 10);
    });
});
And we're done, in the Cypress window, you can see the test passing.
Wrapping it up
I hope you enjoyed making our first Cypress test. This framework will give you a ton of coverage of the entire application. Speaking of coverage, in the next article I'll go over how to hook up vitest and Cypress to a code coverage system.
Let's connect
If you liked this feel free to connect with me on LinkedIn or Twitter
Check out my free developer roadmap and weekly tech industry news in my newsletter.