Introduction
Every day it feels like the JavaScript ecosystem undergoes changes. The introduction of Bun is just further proof of that and boy is it powerful.
But, what is Bun?

Bun is a fast all-in-one JavaScript runtime
Source: https://bun.sh/
What makes it "all-in-one" though? Well, let's just head one line down for their personal description of what makes it stand out amongst the competition.
Bundle, transpile, install and run JavaScript & TypeScript projects — all in Bun. Bun is a new JavaScript runtime with a native bundler, transpiler, task runner and npm client built-in.
That is a ton of functionality baked (heh) into one runtime. One of the things that caught my eye was that it also automatically transpiles files. That means you can just use Typescript and JSX with no setup needed.
That sort of functionality truly does feel like it should be the norm. These tools are tried-and-tested and them just working feels right.
However, I tend to use my Windows computer a lot because I tend to game on the side. For convenience's sake, I also do a lot of coding on my Windows computer (where applicable). So I decided to give Bun a shot whilst on my Windows computer.
Let's dive right in on how to set it up.
Setting up WSL
In order for us to install certain functionalities we need to set up a Linux distribution on our Windows machine. Thankfully, the developers at Microsoft have created something called the Windows Subsystem for Linux (WSL)
The Windows Subsystem for Linux lets developers run a GNU/Linux environment -- including most command-line tools, utilities, and applications -- directly on Windows, unmodified, without the overhead of a traditional virtual machine or dualboot setup.
If you want more info check out the full docs.
This is exactly what we're looking for to set up Bun.
Open up the Windows Powershell (with admin privileges) and run the following command:
wsl --install
You'll probably get a line of messages similar to this:

Awesome! Let's restart our machine.
After restarting the terminal will automatically attempt to run some commands. However, you may get the following error:
Installing, this may take a few minutes...
WslRegisterDistribution failed with error 0x80370102
Error: 0x80370102 The virtual machine could not be started because a required feature is not installed
In this case, virtualization may not be enabled on your PC. How to enable this can vary from processor to processor so I just did a quick google search. In my case, I had an AMD Ryzen, so I had to reboot and enable SVM in my BIOS settings.
After enabling open up another terminal and run the following command to re-install the Linux distribution. If it previously worked you can skip this step.
wsl --install -b Ubuntu
This will install and ask you to create a UNIX user account.
Installing Docker Desktop
It's recommended to use Docker Desktop with WSL. Let's go ahead and get that set up.
https://www.docker.com/products/docker-desktop/
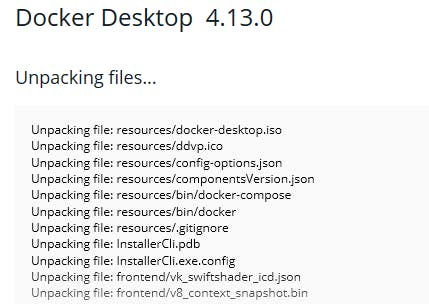
Download the executable and install Docker Desktop.

This will require a logout. Afterward, head into settings and make sure Use the WSL 2-based engine is enabled.

In Resources, under WSL Integration make sure your installed distro is enabled as well.
For more detailed instructions and troubleshooting check out the WSL docs.
Using Bun on Windows
That was quite a bit of prep just to use Bun. Grab a coffee and come back so we can continue!
Installing Bun
Open up the Ubuntu (just search up Ubuntu from the Start menu and it should appear if it was installed correctly) instance and install unzip.
sudo apt install unzip
And install bun
curl https://bun.sh/install | bash

One more step. We have to add a few lines manually to our .bashrc
Now you have full access to the bun commands! Restart the Ubuntu terminal and run
bun --version
This should confirm if it was correctly installed or not.
Testing out Bun
I'll be using Vscode to simplify the process but it's not necessary. Vscode has an extension available to integrate it with WSL easily.
Here are their docs for more info:
https://code.visualstudio.com/docs/remote/wsl
Under extensions just look up WSL to install the respective extension

Awesome!
To test this out create a folder with the name http.js and add the following lines to the file (note this is straight from the docs):
export default {
  port: 3000,
  fetch(request) {
    return new Response("Welcome to Bun!");
  },
};
Open the folder with vscode. In the bottom left of the vscode screen you should see a button with two arrows: ><

Click it and select the option to re-open the folder with WSL. Your terminal should now be connected to the Ubuntu instance. From here run:
bun run http.js
At localhost:3000 you'll now see the executed file!

Wrapping it up
That was quite the setup but now we can do more complex things with Bun. In the next article, I'll go over how to set up a more complex project.
Do note that Bun is still in Beta so you may encounter some issues! They have an active discord so I recommend checking them out if you run into any problems.
Let's Connect
If you liked this feel free to connect with me on LinkedIn or Twitter
Check out my free developer roadmap and weekly tech industry news in my newsletter.


