Photo by Jeriden Villegas on Unsplash
Testing a React Application Integrating MSW with Vitest
Last time we created our first unit test with Vitest. This time we'll finish mocking our fetch request with MSW.
Introduction
The fifth part in my ongoing series on how to test a modern React application. This time I'll go over how to integrate MSW with Vitest, our unit-test framework. Most applications have to fetch data from the backend server. In order to have full coverage, we should mock these requests. But, what is mocking?
Make a replica or imitation of something
Oxford Languages
The idea is to create an imitation of a request coming in from the backend. This comes with its own set of advantages. We can directly manipulate what we want the response to be to test for more scenarios. In the app we previously created we could test for fetching 0 posts, 100 posts, posts with no text, and so on and so forth.
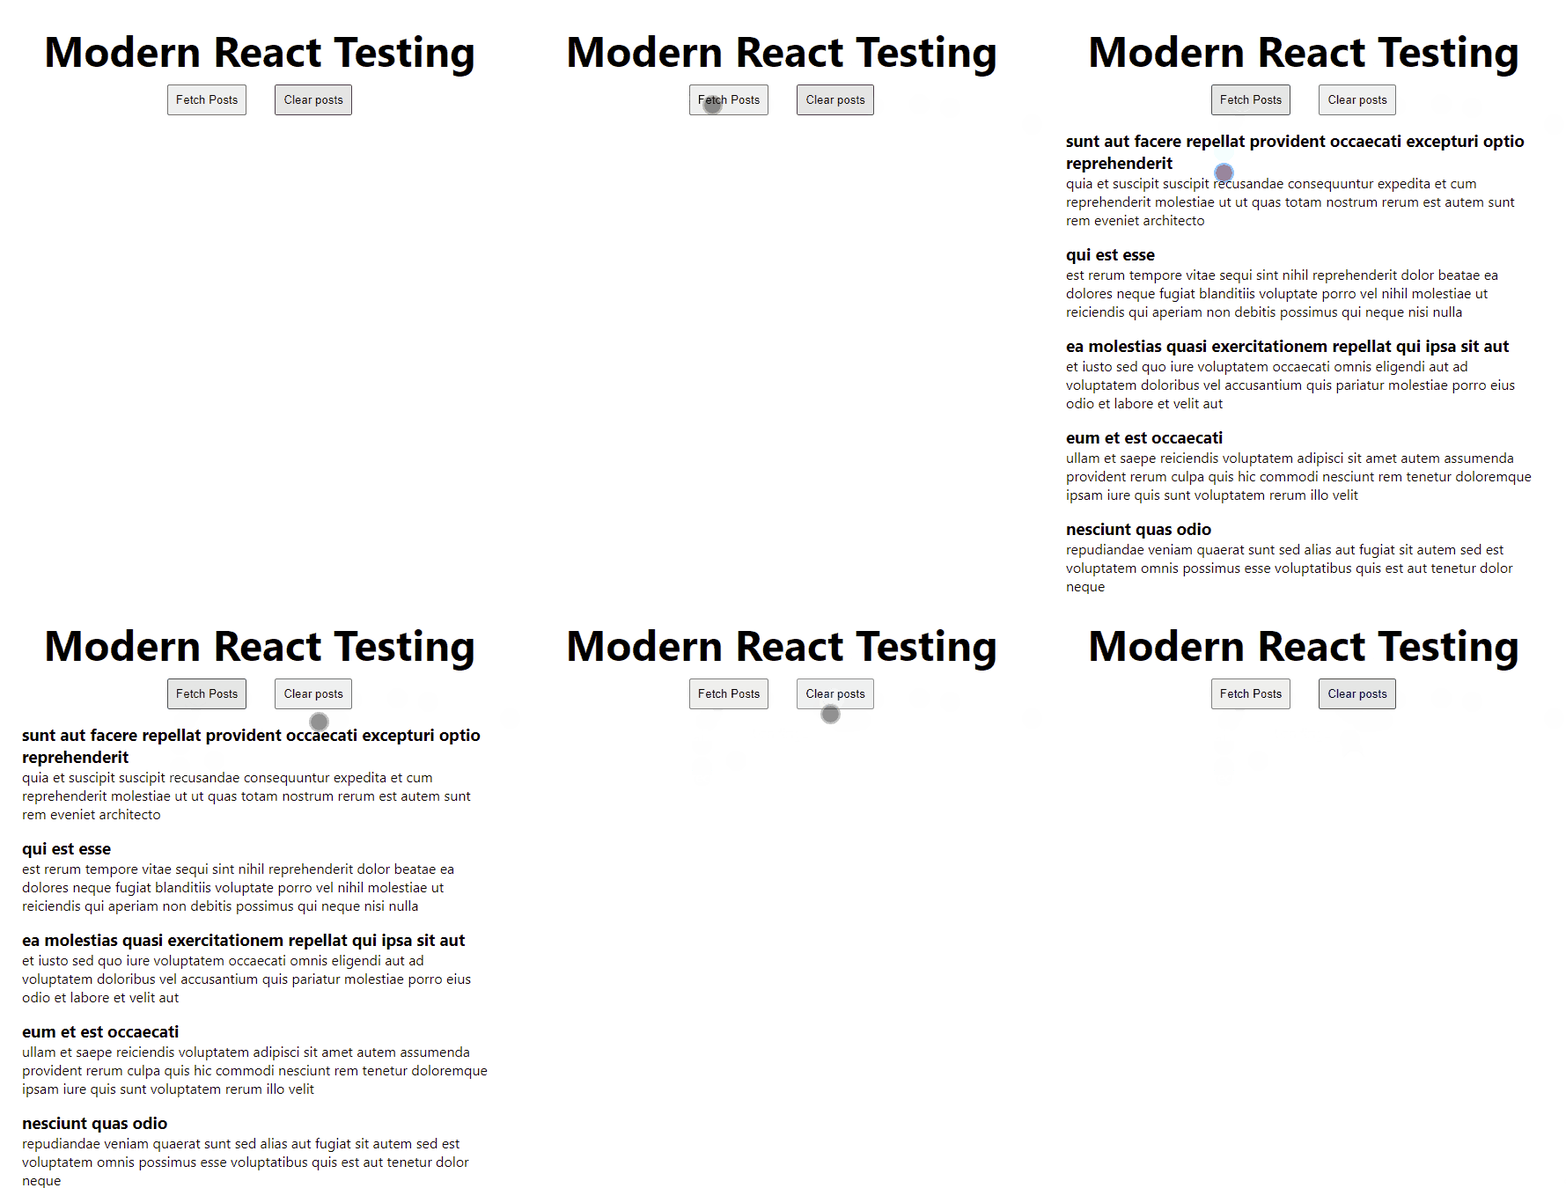
The app in question:

This is very powerful! We can test for common use cases or edge cases that the user may run into. And at the end of the day, the most important thing is confidence in our tests.
What is MSW?
MSW is a mocking library that is extremely simple to use.
Mock by intercepting requests on the network level. Seamlessly reuse the same mock definition for testing, development, and debugging.
Normally, this would be the expected interaction:

But, with the added addition of MSW, we will add a new step.

Awesome! 😎 Let's get this set up with our application. For referencehere is the project we've been using up to this point.
Configuration files for MSW
First, let's install our new library:
npm install msw --save-dev

yarn add msw --dev
In our src directory let's create a mocks older where we'll keep the handlers for the requests. The MSW team refers to this as mock definitions. Inside the mocks folder create a handlers.js.
Here we can export our handler functions. Since we're doing normal REST requests, let's import rest from MSW.
import { rest } from 'msw';
In order for MSW to recognize the request, we must provide the exact method and path and export it from an array.
export const handlers = [
rest.get('https://jsonplaceholder.typicode.com/posts', null),
]
Here we can replace null with what we actually want MSW to return to us. This is a function known as a response resolver. Returning the following:
req, information about a matching request;res, a functional utility to create the mocked response;ctx, a group of functions that help to set a status code, headers, body, etc. of the mocked response.
Let's return our own custom response for these posts.
import { rest } from 'msw';

export const handlers = [
    rest.get('https://jsonplaceholder.typicode.com/posts', (req, res, ctx) => {

    return res(
      ctx.status(200),
      ctx.json([{
         body: "This is a body",
         id: 1,
         title: "Title",
         userId: 1,
      }]),
    )
}),
]
Sweet, now we have our handler set up for MSW 🚀.
Configuration files for Vitest
MSW sets up a server for us to intercept the requests. But we have to create an instance of the server. Create a server.js file in our mocks folder:
import { setupServer } from 'msw/node';
import { handlers } from './handlers';

// Here we import the handler created!
export const server = setupServer(...handlers);
In our vite.config.js lets add an entry for our setup files in the test object:
setupFiles: ['./src/setup.js'],
Let's create this setup.js file in our src directory. This is to correctly reset the server with every test execution:
import { server } from './mocks/server'

beforeAll(() => server.listen({ onUnhandledRequest: 'error' }))
afterAll(() => server.close())
afterEach(() => server.resetHandlers())
Now we're all set up and ready to test! Let's implement this in our Vitest test.
Mocking our API request in Vitest
Let's revamp our test file:
import React from 'react';
import {
    render,
    screen,
    waitForElementToBeRemoved,
} from '@testing-library/react';
import userEvent from '@testing-library/user-event';
import App from './App';

describe('Testing our React application', () => {
    it('Fetch posts', async () => {
        render(<App />);

        expect(screen.getByText(/Modern React Testing/i)).toBeDefined();

        userEvent.click(screen.getByRole('button', { name: 'Fetch Posts' }));

        await waitForElementToBeRemoved(() =>
            screen.queryByLabelText('loading')
        );

        expect(screen.getByRole('heading', { level: 3 })).toBeDefined();
    });
});
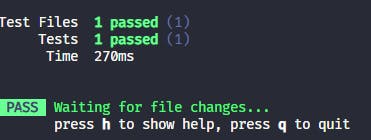
We removed the library for @testing-library/jest-dom as it is no longer necessary. But, now our test should be passing with green!

Also, since our test is running in a node environment we need to polyfill our fetch function in the original App.jsx
npm install cross-fetch
Just import it at the very top:
import fetch from 'cross-fetch';
Sidenote
If you had been following along my other articles you may have noticed I changed the version of a dependency: @testing-library/user-event. I was having an issue firing off the button click.
I downgraded it to 13.5.0 and called the click event directly from userEvent.
You can find the entire project in this repository with the updated list of dependencies.
Wrapping it up
We now have a powerful tool at our disposal to mock requests as we continue to create unit tests! In the next article, we'll go over how to set up Cypress.io.
More content at Relatable Code
Let's connect
If you liked this feel free to connect with me on LinkedIn or Twitter
Check out my free developer roadmap and weekly tech industry news in my newsletter.

