
Photo by Jeremy Bishop on Unsplash
Testing a React Application Working with Codecov
The final article in my series of testing a react application, uploading our code coverage results to Codecov
Introduction
In the previous article, we began our setup for Codecov by instrumenting our codebase. In this final article, we'll finish our setup with a GitHub workflow that will automatically submit our coverage results.
Just to give a small recap this is what code coverage is and what our application does:
Code coverage is a software testing metric that determines the number of lines of code that is successfully validated under a test procedure, which in turn, helps in analyzing how comprehensively a software is verified. Source
Cool! Next, let's go over what our application does. When clicking on a button it fetches posts from a service and displays them on the page:
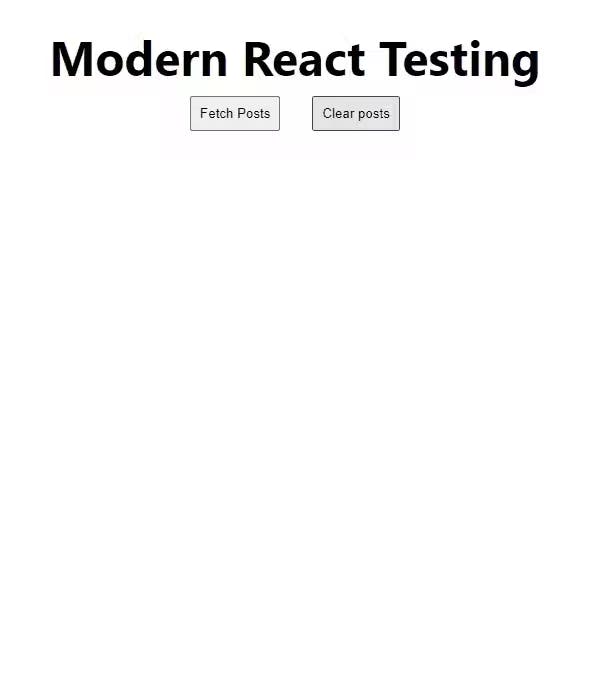
You find the full repository github.com/diballesteros/react-testing
What is a GitHub workflow?
Let's check out the official docs from GitHub for a clear definition:
A workflow is a configurable automated process that will run one or more jobs. Workflows are defined by a YAML file checked in to your repository and will run when triggered by an event in your repository, or they can be triggered manually, or at a defined schedule
That's a lot to take in. Essentially we can create a folder at the root directory of our project that Github will automatically detect to implement the "workflow". Magic!

These actions can be monitored in the Actions tab in a repository.
Awesome! But how does this help us? Well, we're going to create our very own YAML file to create a workflow that will trigger on every push to our repository. This way our code coverage will always stay up to date.
To find out more about workflows and GitHub actions check out the official docs.
Creating our workflow
In the root directory of our project create a .github folder and inside of that create a workflows folder with a single main.yml file inside.

YAML files have a fairly simple structure that is very dependent on the spacing of each line to know what the next step is. Highly recommend checking out their docs if you're not too familiar with them.
Let's start off by giving our workflow a name and making it trigger on push.
name: Coverage
on: [push]
Afterward, we can start setting up our steps. Let's think about what this implies. GitHub is spinning up an environment to run our tests. This means that in this environment we must have all the necessary dependencies for Cypress to run correctly.
This may seem complicated at first, but it'll soon make sense.
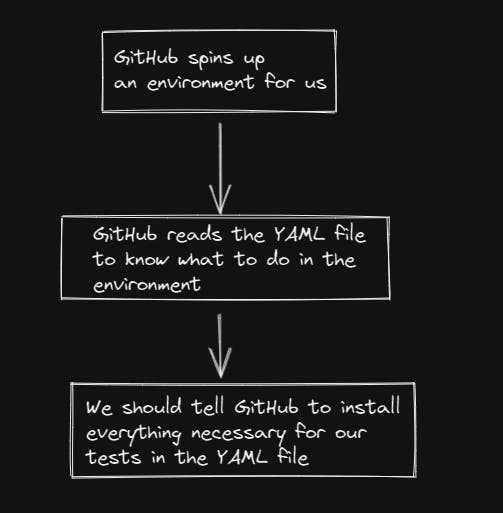
We can start adding jobs to our workflow file to do just this:
jobs:
    tests:
        runs-on: ubuntu-latest
        container: cypress/browsers:node14.17.0-chrome88-ff89
        steps:
            - name: 🛫 Checkout
              uses: actions/checkout@v3

            - name: 🌲 Cypress install
              uses: cypress-io/github-action@v4
              with:
                  runTests: false
            - run: npm run build
runs-on specifies the environment we'll use to install our dependencies. To make it simple we'll just use the latest version of Ubuntu that is available.
container is the browser.
The Checkout step gets our code from the repo. Then we install Cypress.
To add to this we'll use some actions directly from Cypress to run our tests and upload them to Codecov.
jobs:
    tests:
        runs-on: ubuntu-latest
        container: cypress/browsers:node14.17.0-chrome88-ff89
        steps:
            - name: 🛫 Checkout
              uses: actions/checkout@v3

            - name: 🌲 Cypress install
              uses: cypress-io/github-action@v4
              with:
                  runTests: false
            - run: npm run build

            - name: 💻 'UI Tests'
              uses: cypress-io/github-action@v4
              with:
                  start: npm run dev
                  wait-on: http://localhost:3000
                  wait-on-timeout: 120
                  browser: chrome
                  spec: 'cypress/integration/first-test.spec.js'

            - name: ✅ Upload coverage to Codecov
              uses: codecov/codecov-action@v3.1.0
UI Tests will look for the GitHub action directly from Cypress to run our test in a chrome browser. Something very important to note is that in the spec property we specified only the test we created: first-test.spec.js.
You can use an * to capture all files. For example: cypress/integration/*.
Our final step will upload it to Codecov using a GitHub action they have provided for us.
The GitHub Action
After committing and pushing up the new changes we'll finally be able to test it out. If you head to the repository and go to the GitHub Actions tab you'll see the action automatically running:

If you click on the action you'll be able to see a detailed view of what tasks are being run and the steps.
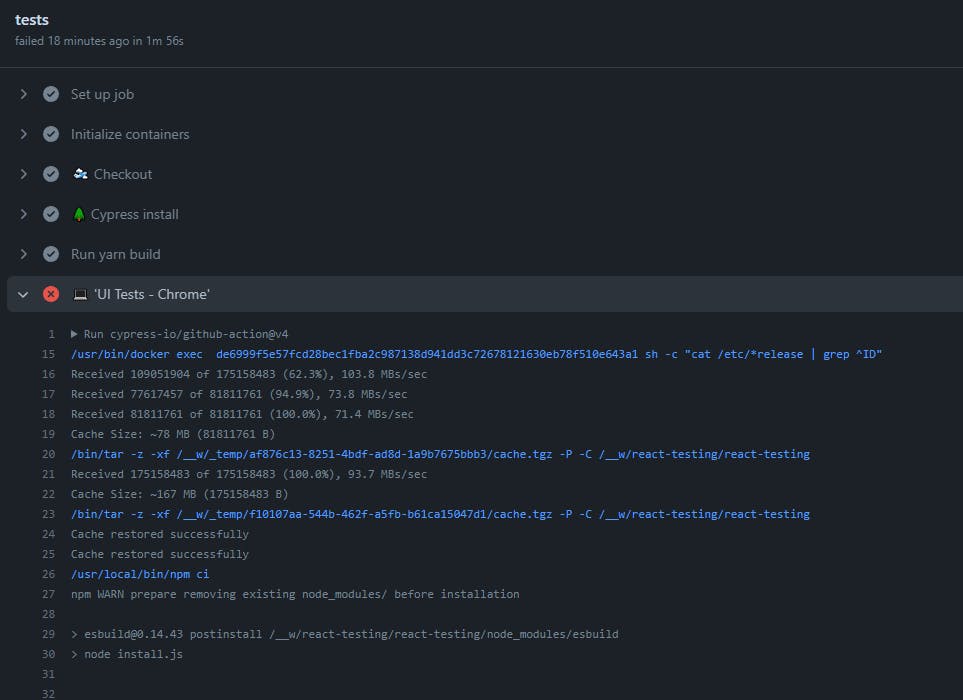
In the screenshot above I made a mistake with the run command for the project.
Wrapping it up
We'll now be able to see the results in Codecov in our project list:

We'll also see how much coverage we actually have:
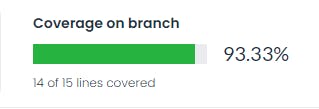
We can also see what lines are not being covered:
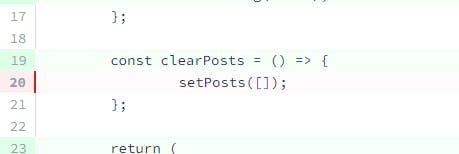
Check out the official Codecov docs for more info on how to navigate the dashboard:
That wraps up my series. I hope you enjoyed it! Testing is a fundamental part of the software development process and is something that should not be skimmed over.
Thankfully modern-day testing has a plethora of tools that make our job easier. If you have any more questions regarding testing leave them in the comments section below!
Let's connect
If you liked this feel free to connect with me on LinkedIn or Twitter
Check out my free developer roadmap and weekly tech industry news in my newsletter.

